Installation
Run CodeScene from the Command Line
We typically deploy CodeScene as a service in an application container (e.g. Tomcat) as described in the next session. However, the simplest way to get the application up and running is by launching the standalone JAR:
java -jar codescene.standalone.jar
This will launch a web application that listens on port 3003 (you can
override that by setting a different port through the environment
variable CACS_RING_PORT.
Now, please point your web browser to localhost:3003.
Install CodeScene on a Server
A server installation is the recommended way of running CodeScene. This section described how you do that using Tomcat.
Run CodeScene in Tomcat
CodeScene is delivered as a WAR file (Web application ARchive). We recommend that you deploy it using Tomcat (https://tomcat.apache.org/index.html).
Specify a file folder for the database
CodeScene uses an embedded database. That means, you don’t have to install any database or drivers yourself. However, you need to specify a path to a file folder where CodeScene is allowed to store its database. Here’s how you configure Tomcat to do that:
- Open the file
context.xmllocated under the conf directory in your Tomcat installation. - Add an
<Environment>tag to context.xml that specifies the path to a folder you want to use for the database (see the example below). - Save context.xml.
Here’s an example on how context.xml may look on a Windows installation (note that you need to modify the path to fit your environment):
<Context>
  <WatchedResource>WEB-INF/web.xml</WatchedResource>
  <WatchedResource>${catalina.base}/conf/web.xml</WatchedResource>
  <Environment name="empear.dbpath"
               value="C:\\some\\path\\to\\the\\database\\empear.codescene"
               type="java.lang.String"/>
</Context>
In case you run on a Linux-based system, you just specify a different path format. For example:
<Context>
  <WatchedResource>WEB-INF/web.xml</WatchedResource>
  <WatchedResource>${catalina.base}/conf/web.xml</WatchedResource>
  <Environment name="empear.dbpath"
               value="/Users/adam/Documents/Empear/deployment/empear.codescene"
               type="java.lang.String"/>
</Context>
NOTE: Please ensure that Tomcat has write access to the folder you specify.
Deploy the codescene.war
Once Tomcat is up and running, with your modified context.xml, you just
copy the codescene.war to the webapps folder in your Tomcat
installation.
Access CodeScene
By default, Tomcat will launch CodeScene on port 8080 and at the path /codescene/. If you’re logged in on the server, you access the application on http://localhost:8080/codescene/login. You should see the activation screen in your web browser (see Fig. 1).
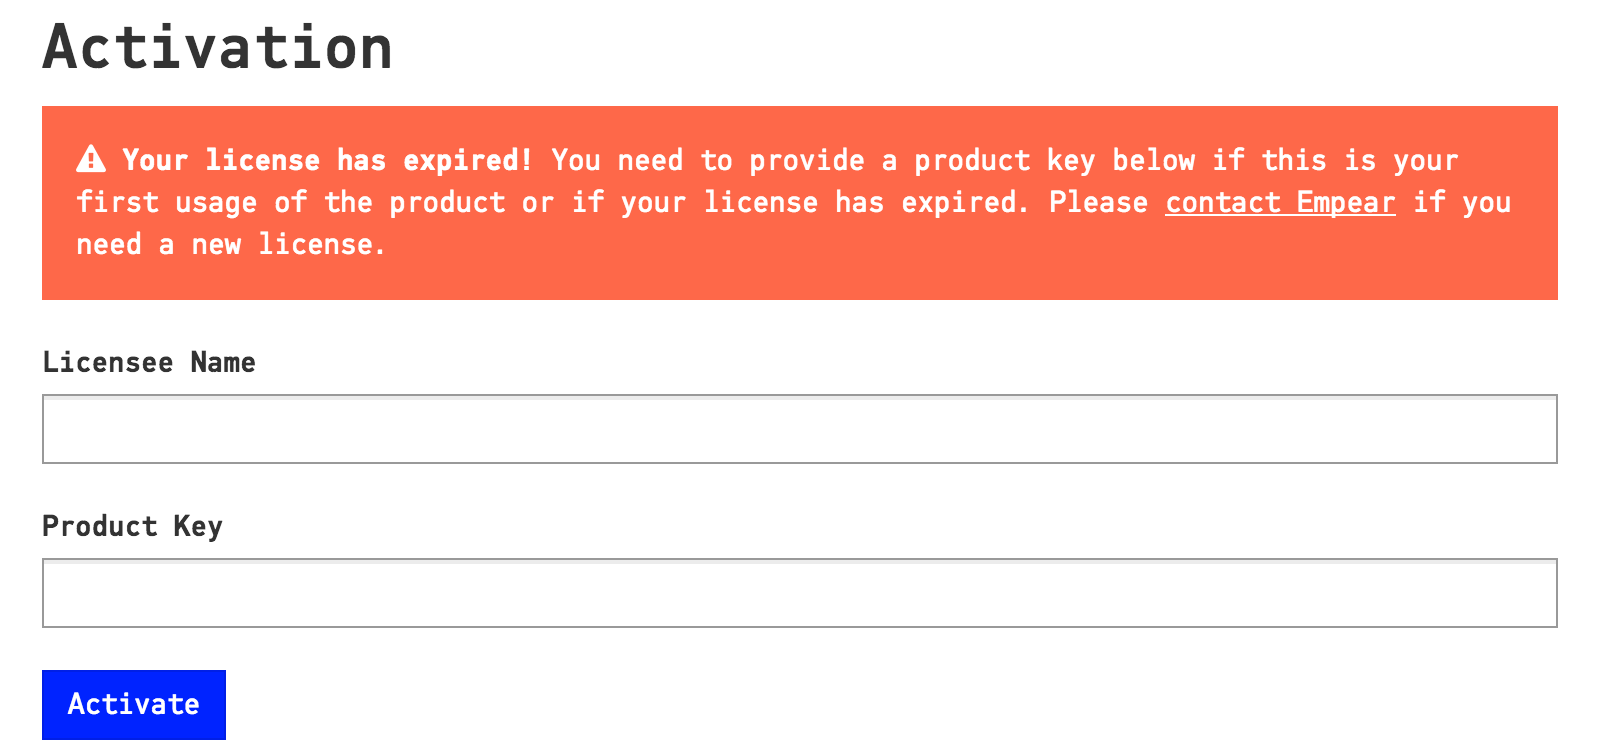
Fig. 1 The first time your login you are prompted to activate the application.
Enter the credentials you received in your license file. You’re now ready to login (see Fig. 2).
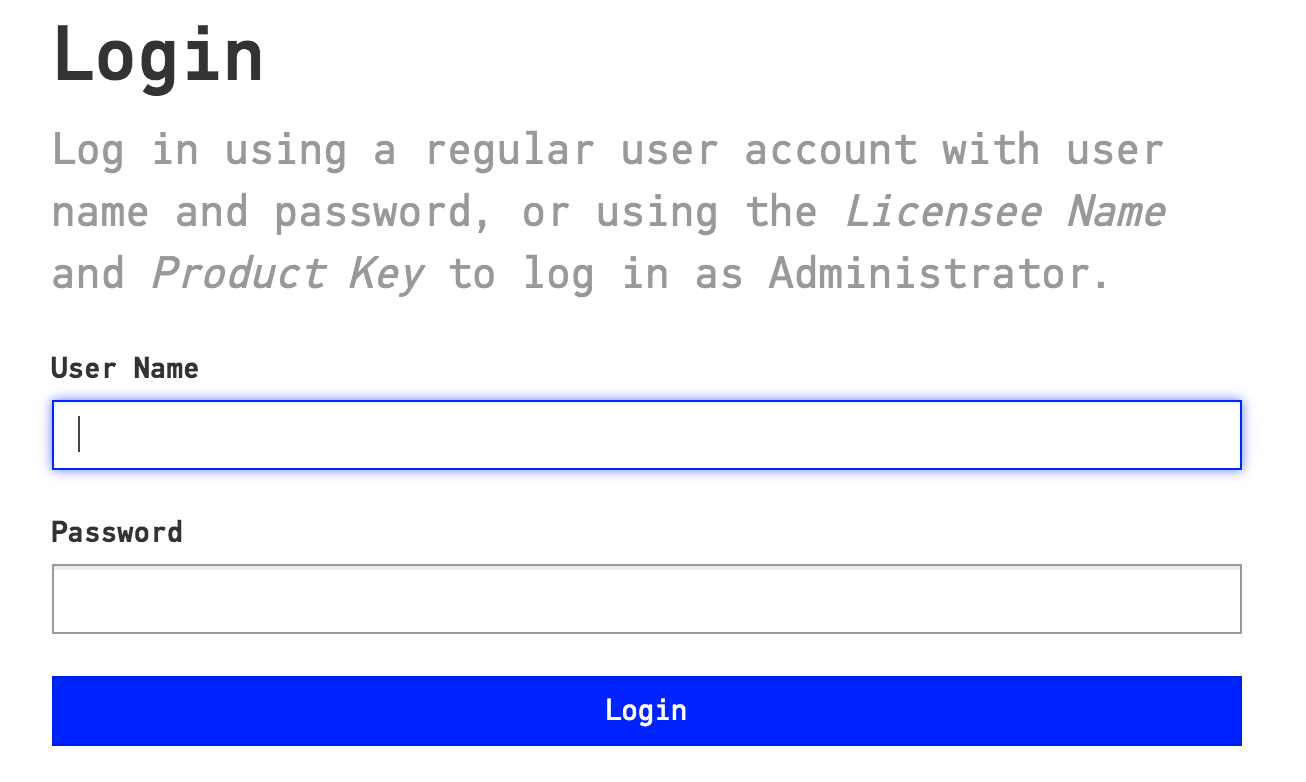
Fig. 2 Once you’ve activated the tool you’re ready to login.
The first time you login, you use the same credentials to login as you used to activate the application. That is, give your Licensee Name as User Name and your Product Key as Password.
You’re now up and running with CodeScene!
Configure additional users
You are granted administration privileges each time you login with your license credentials (note that you can do that at any time, for example to administrate users).
You can add new users and assign them roles in the global configuration. Users and Roles describes this in greater detail.