Run an Analysis
Creating a New Project
Your first step is to create and configure a project. You do that by clicking on the “Create New Project” button (see Fig. 3).
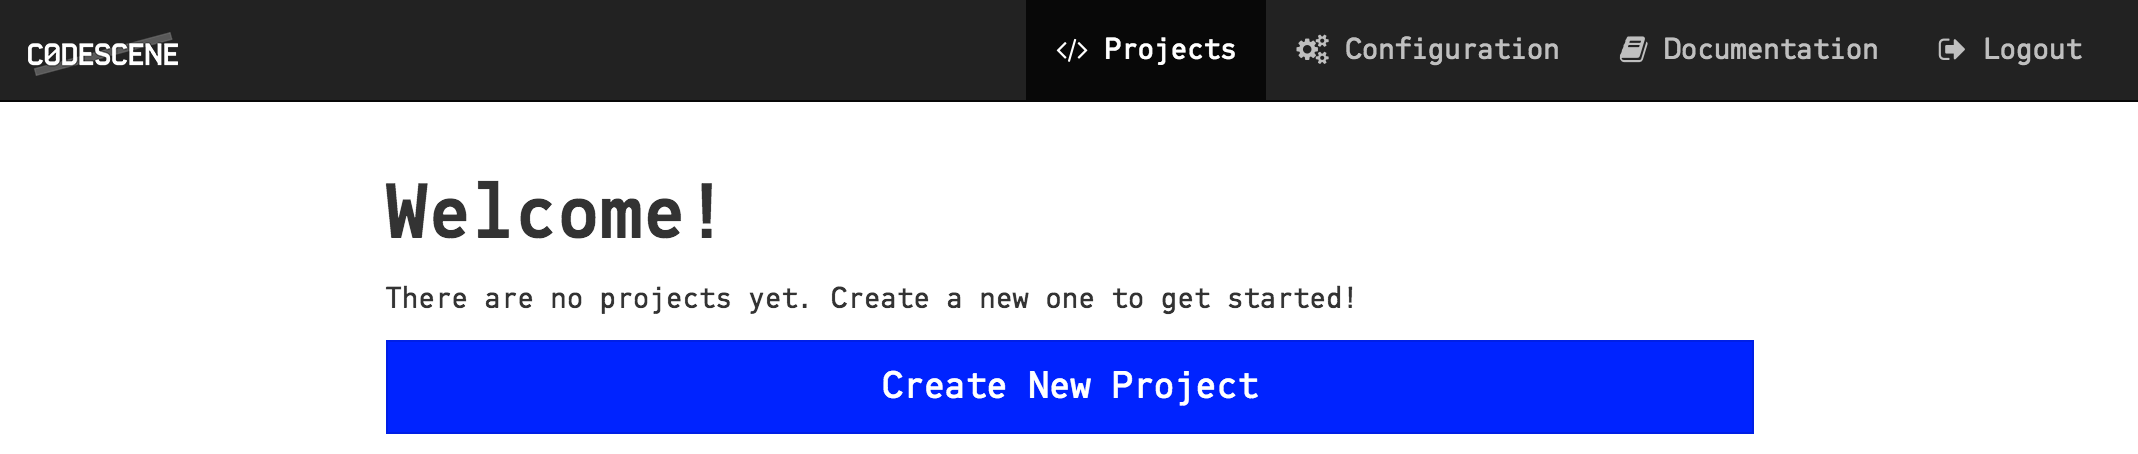
Fig. 3 Click on the “Create New Project” button to create a project and configure it for analysis.
Once you click the “Create New Project” button you are prompted with a choice (see Fig. 4). Select Specify Paths if you plan to analyze just one or two repositories and enter the paths manually. Select Scan Directory to auto-import multiple repositories into your analysis project.
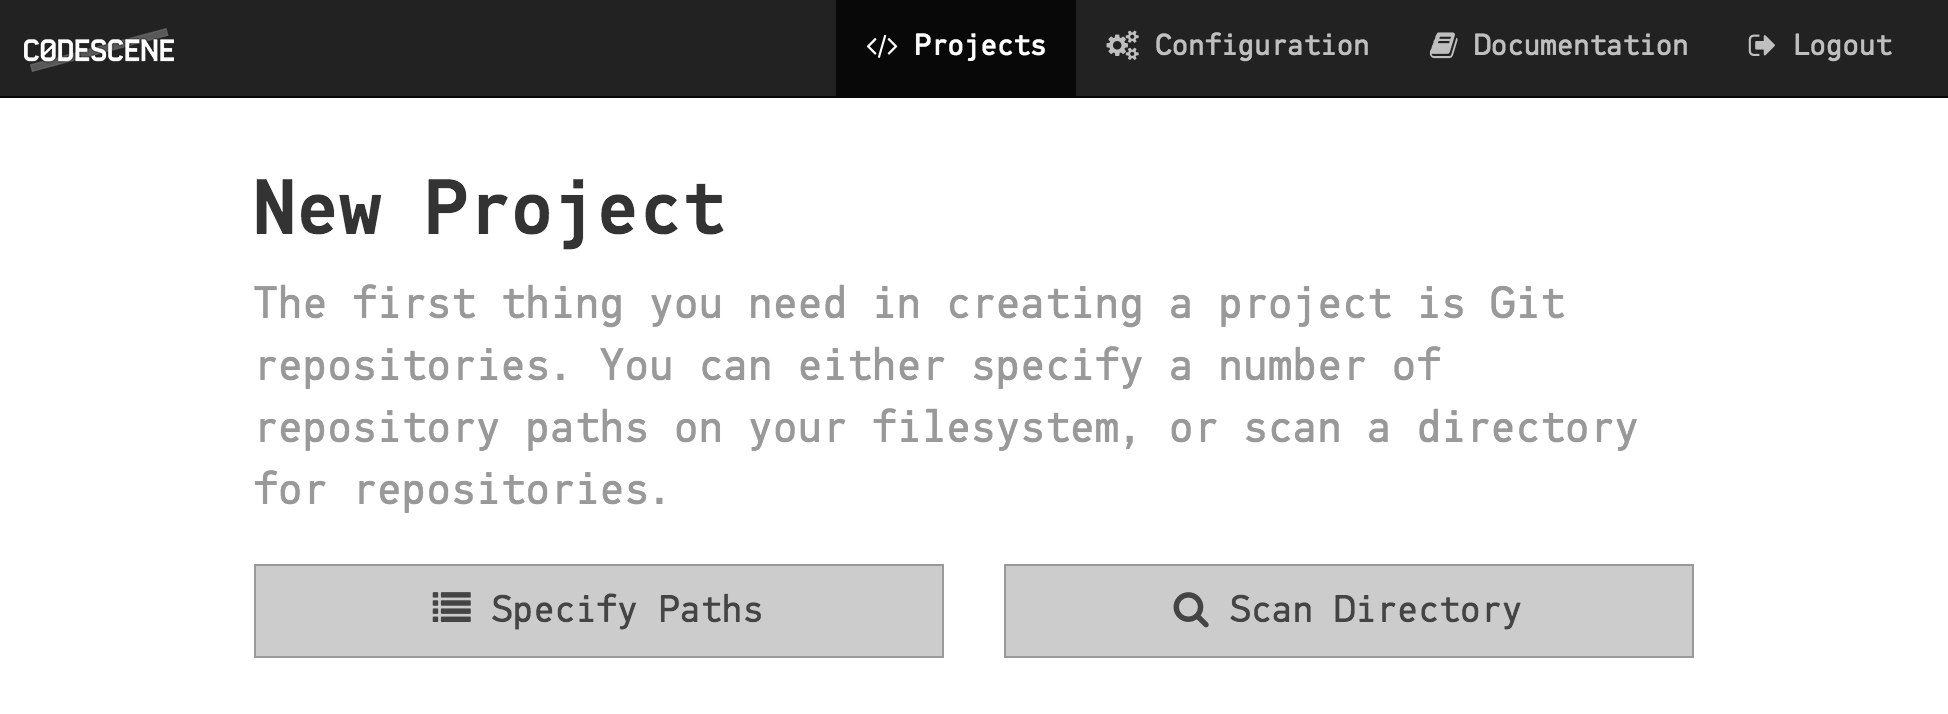
Fig. 4 Specify the local Git repository paths.
If you chose to Specify Paths, just type (or copy-paste) the path to your local Git repository clones. You can add as many repositories as you need.
Once you click “Continue”, you arrive at the “Project Details” page (see Fig. 5). There are a number of important configuration options in this step. The Guides include advice on how you select an analysis period. When in doubt, specify the earliest possible starting date as indicated in the help text.
NOTE: It’s important that the Analysis Results file folder that you specify is writable for the Tomcat user; all analysis result content will be stored there.
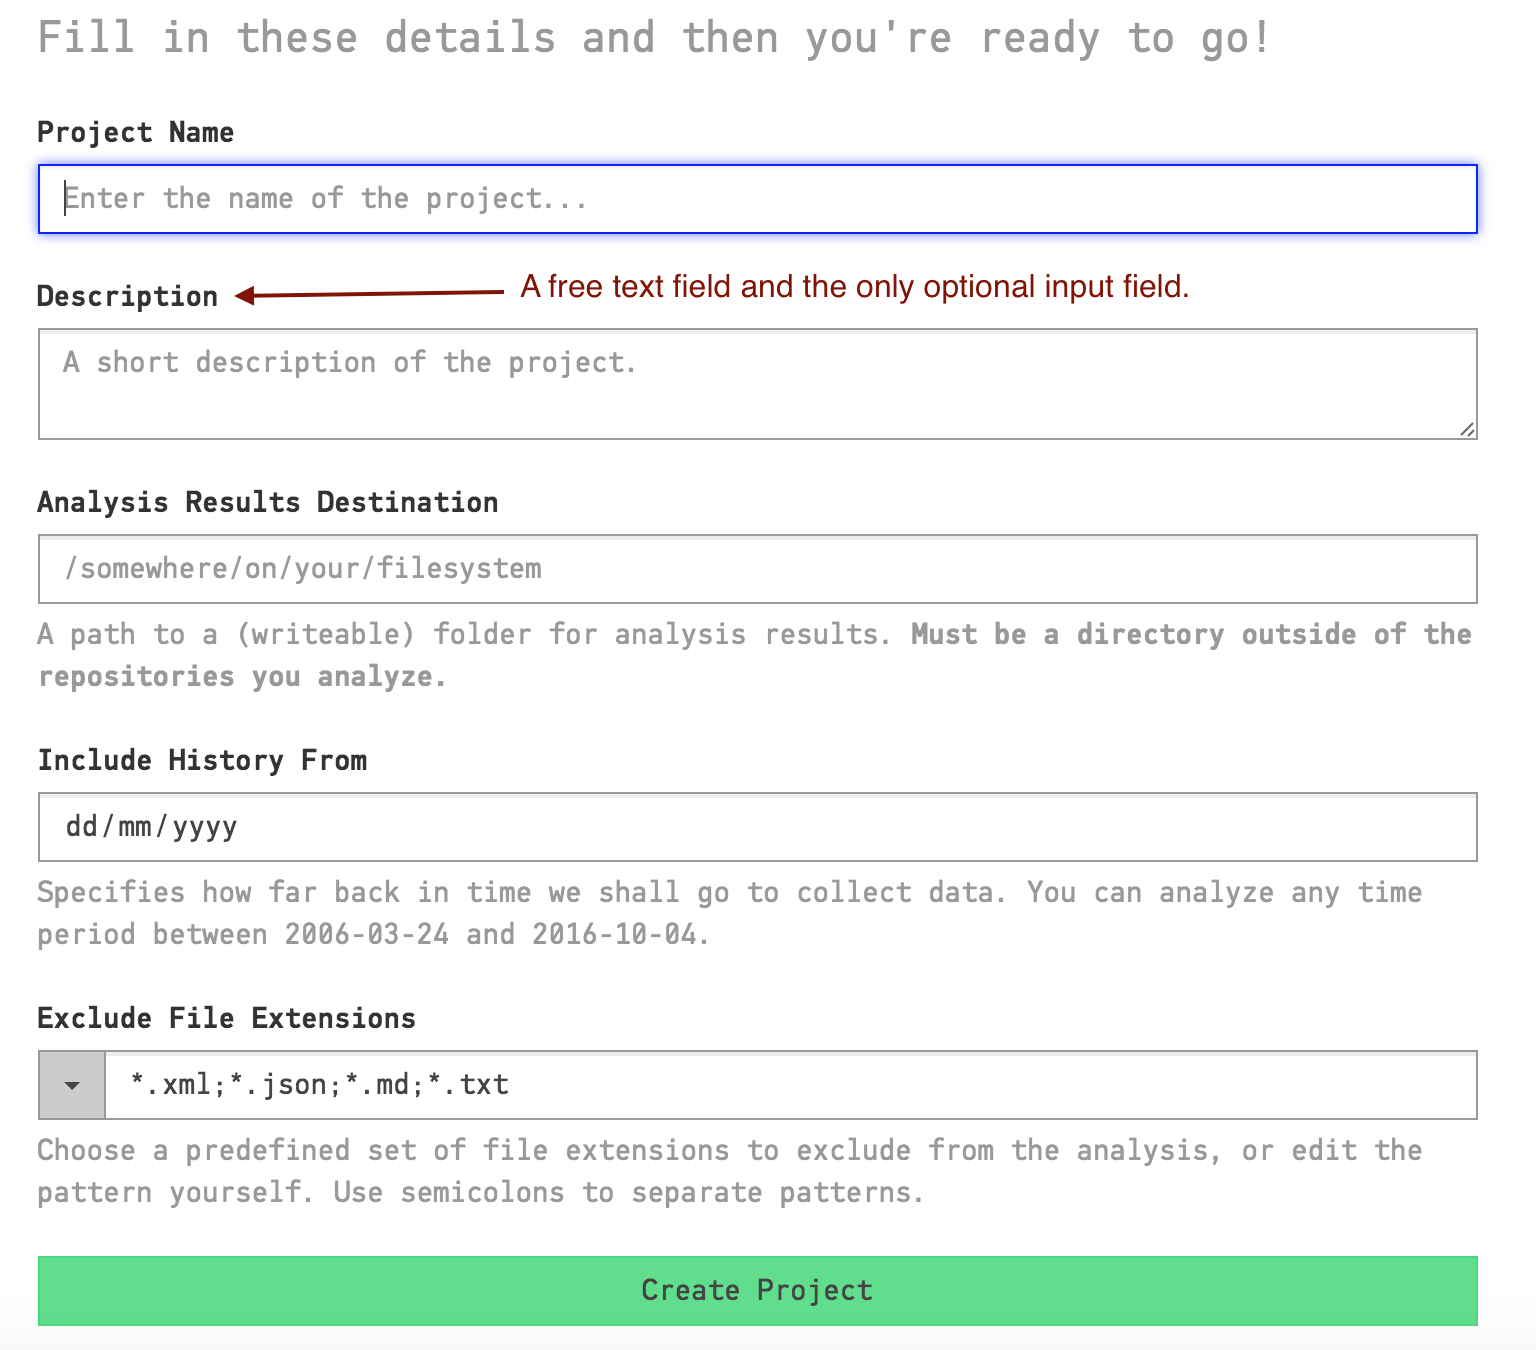
Fig. 5 The detailed configuration lets you specify analysis period and a result path.
Once you’ve created the project you’ll arrive at its configuration details. And yes, there’s a lot, really a lot, of configuration parameters. The good news are that you normally don’t have to change any of these parameters since they all have sensible defaults. However, you want to look at your Analysis Plan. Go to the “Analysis Plan” configuration as shown in Fig. 6 and specify a suitable interval, for example once every night.
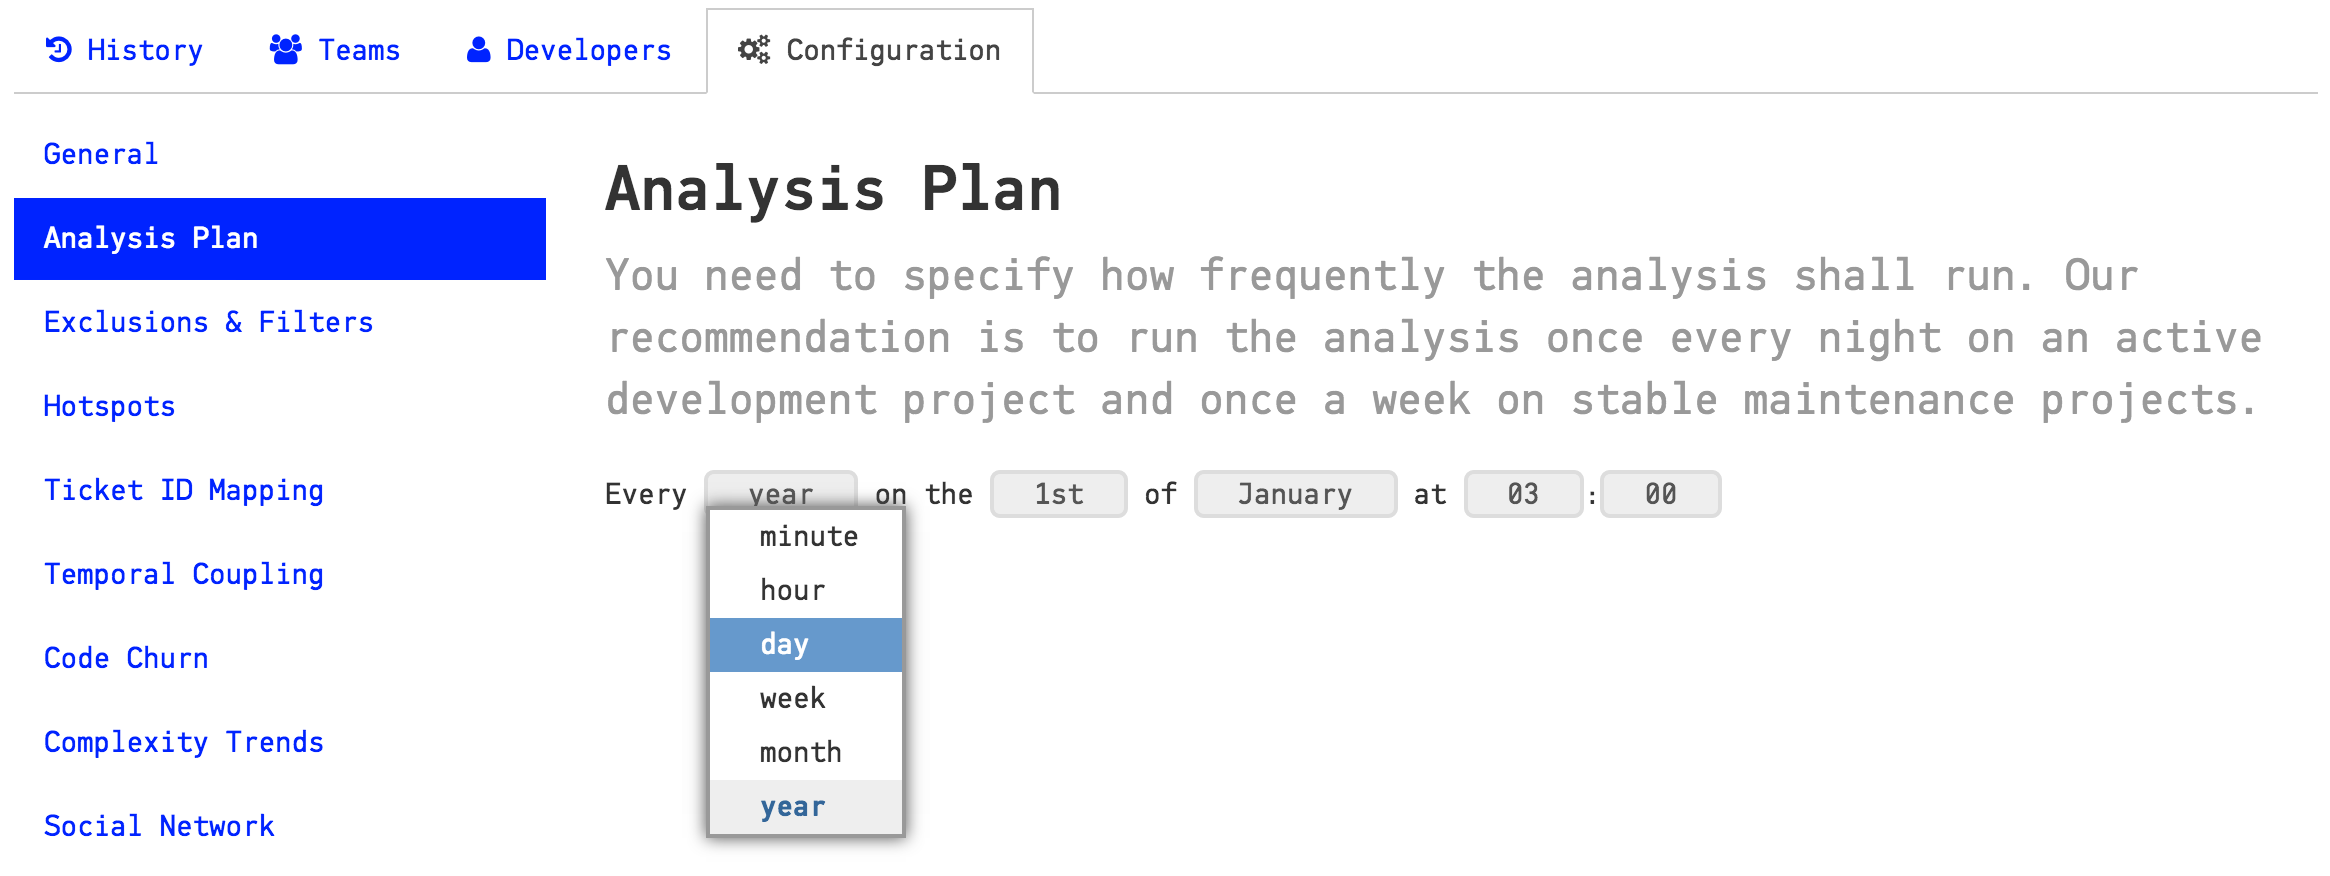
Fig. 6 Your analysis plan specifies how often an analysis is run.
From now on, CodeScene will run all analyses automatically according to your plan. However, you probably don’t want to wait for the next scheduled run to get results on your codebase. That’s why CodeScene supports a forced analysis as described in the next section.
Force an Analysis
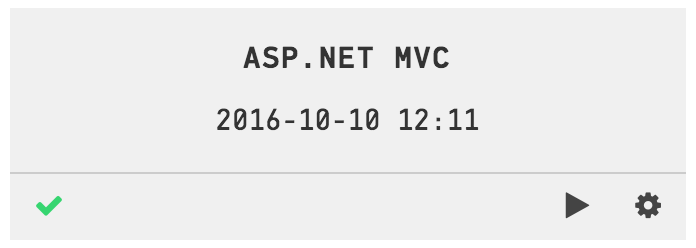
CodeScene lets you run an analysis on demand. Just go to the dashboard and press the Run button as illustrated in Fig. 7.
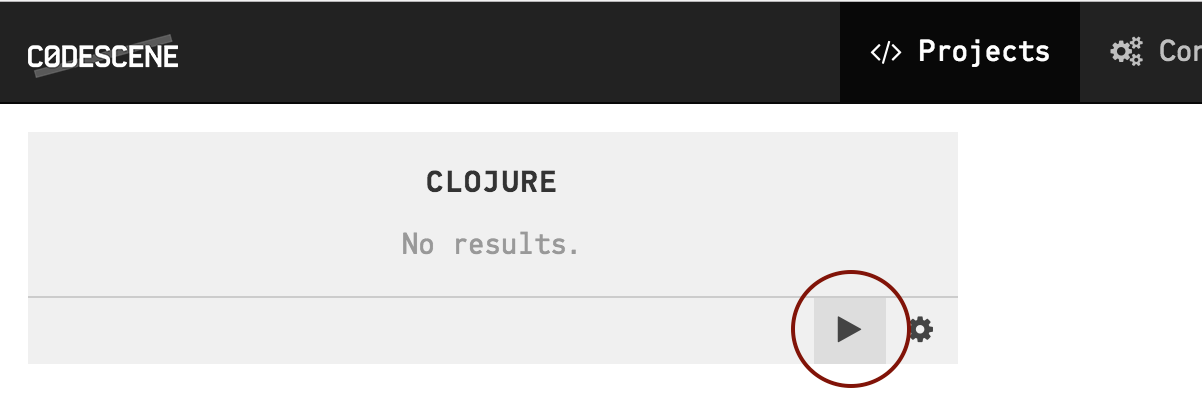
Fig. 7 Press the Run button to force an analysis.
Run a Retrospective
CodeScene also includes the option to run an analysis tailored to a Retrospective. This feature is located on the “History” tab of your analysis project as illustrated in Fig. 8.
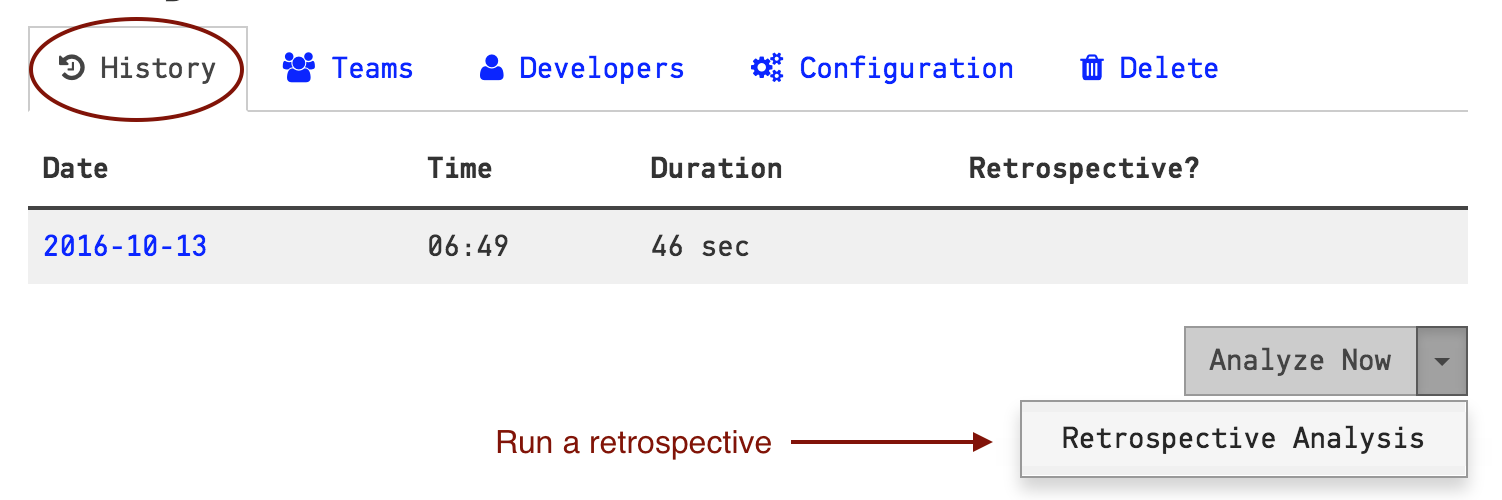
Fig. 8 A retrospective lets you analyze the development activity in the past sprint/iteration.
For a detailed description of the use cases for Retrospectives, read the article The Happy Marriage of Retrospectives and Software Evolution.
Find your Way Around
We’ve worked to make CodeScene as easy as possible for you to use. Basically, you just need to remember three things:
Click the cogs button of your project (see Fig. 9) to access details, configuration, and to force analyses.
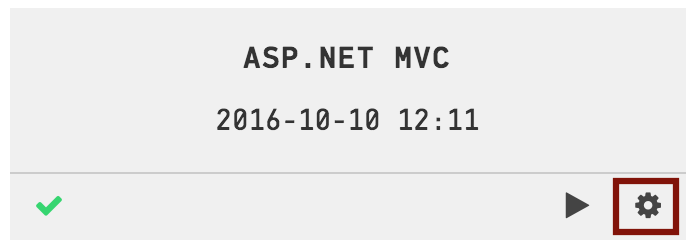
Fig. 9 The cogs button in the project tile takes you to the project details and configuration.
Click on the Latest Analysis link to inspect your analysis results (see Fig. 10).
Click on the “CODESCENE” text to return to the main screen, should you ever get lost.